As professional interior painters in Nanaimo, we ask customers to take a few simple steps to get their homes ready before we arrive. We’re happy to assist with heavy or large items if needed, but here’s what you can do ahead of time.
Interior Painting Preparation Checklist
Following these steps helps us to work efficiently, protects your belongings, and ensures a smooth, high-quality finish. If you have any questions, don’t hesitate to contact us.

- Confirm colors: Finalize all paint colors with us at least one week before the start date (unless otherwise specified).
- Remove wall items: Take down pictures, mirrors, clocks, and other decorations.
- Store delicate items: Safely put away breakable or sentimental items.
- Clear surfaces: Remove objects from mantels, shelving, and counters along the wall.
- Relocate smaller items: Move lamps, knick-knacks, and decorative pieces away from the painting area.
- Empty cabinets & bookcases: Remove contents to prevent items from falling and make moving furniture easier.
- Electronics: We’ll inform you if televisions or other electronic equipment need to be disconnected from the wall.
- Reposition large furniture: Move furniture to the center of the room or at least three feet away from walls. We’ll advise on exact spacing.
- Remove area rugs: Unless instructed otherwise, take out rugs to protect them and allow access to floors.
- Clear closets: Remove clothing and belongings if closets are part of the painting project.
- Take down window coverings: Remove curtains and store them safely or lay them over furniture. We’ll remove blinds if needed.
- Bathroom prep: Remove bath mats and accessories.
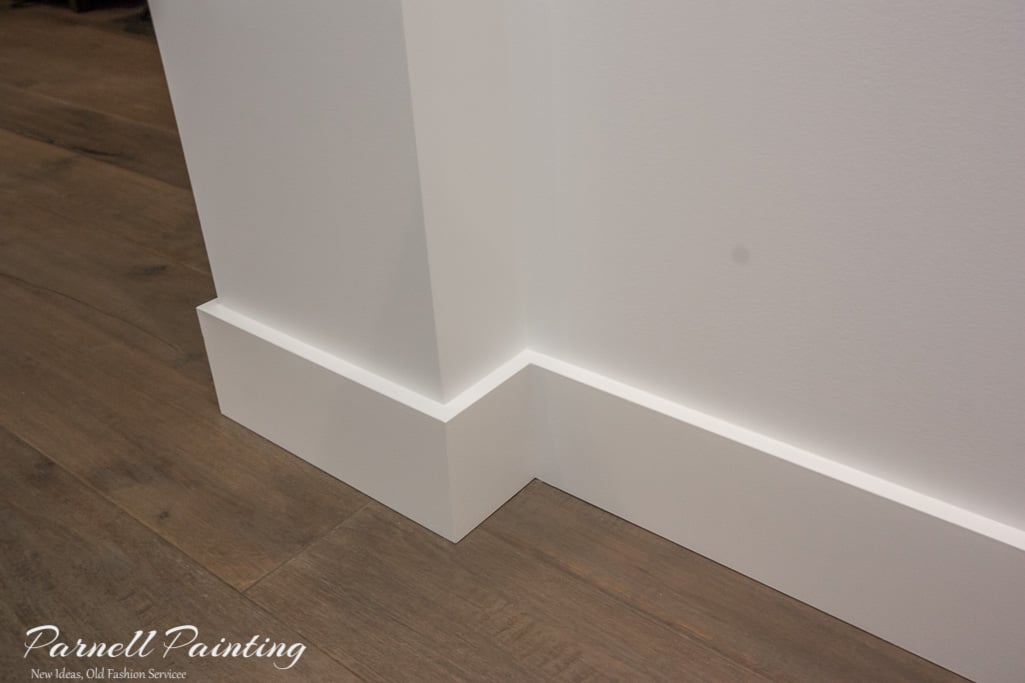
- Clean floors: Vacuum or sweep floors, paying extra attention to baseboard areas.
- Pets: Consider if any special arrangements need to be made.
- Home access: Arrange how we will enter your home if you won’t be present.
Learn more about our painting services and what to expect in our step by step guide: Interior House Painting Process We handle every detail with care, from preparation to cleanup.
We’re a local Nanaimo painting company with over 20 years of experience. As a husband-and-wife team, we take pride in providing personal service and exceptional craftsmanship.
Contact Parnell Painting today by email or phone to schedule a free, no-obligation estimate. We’ll help you bring fresh colour and lasting beauty to your home.